
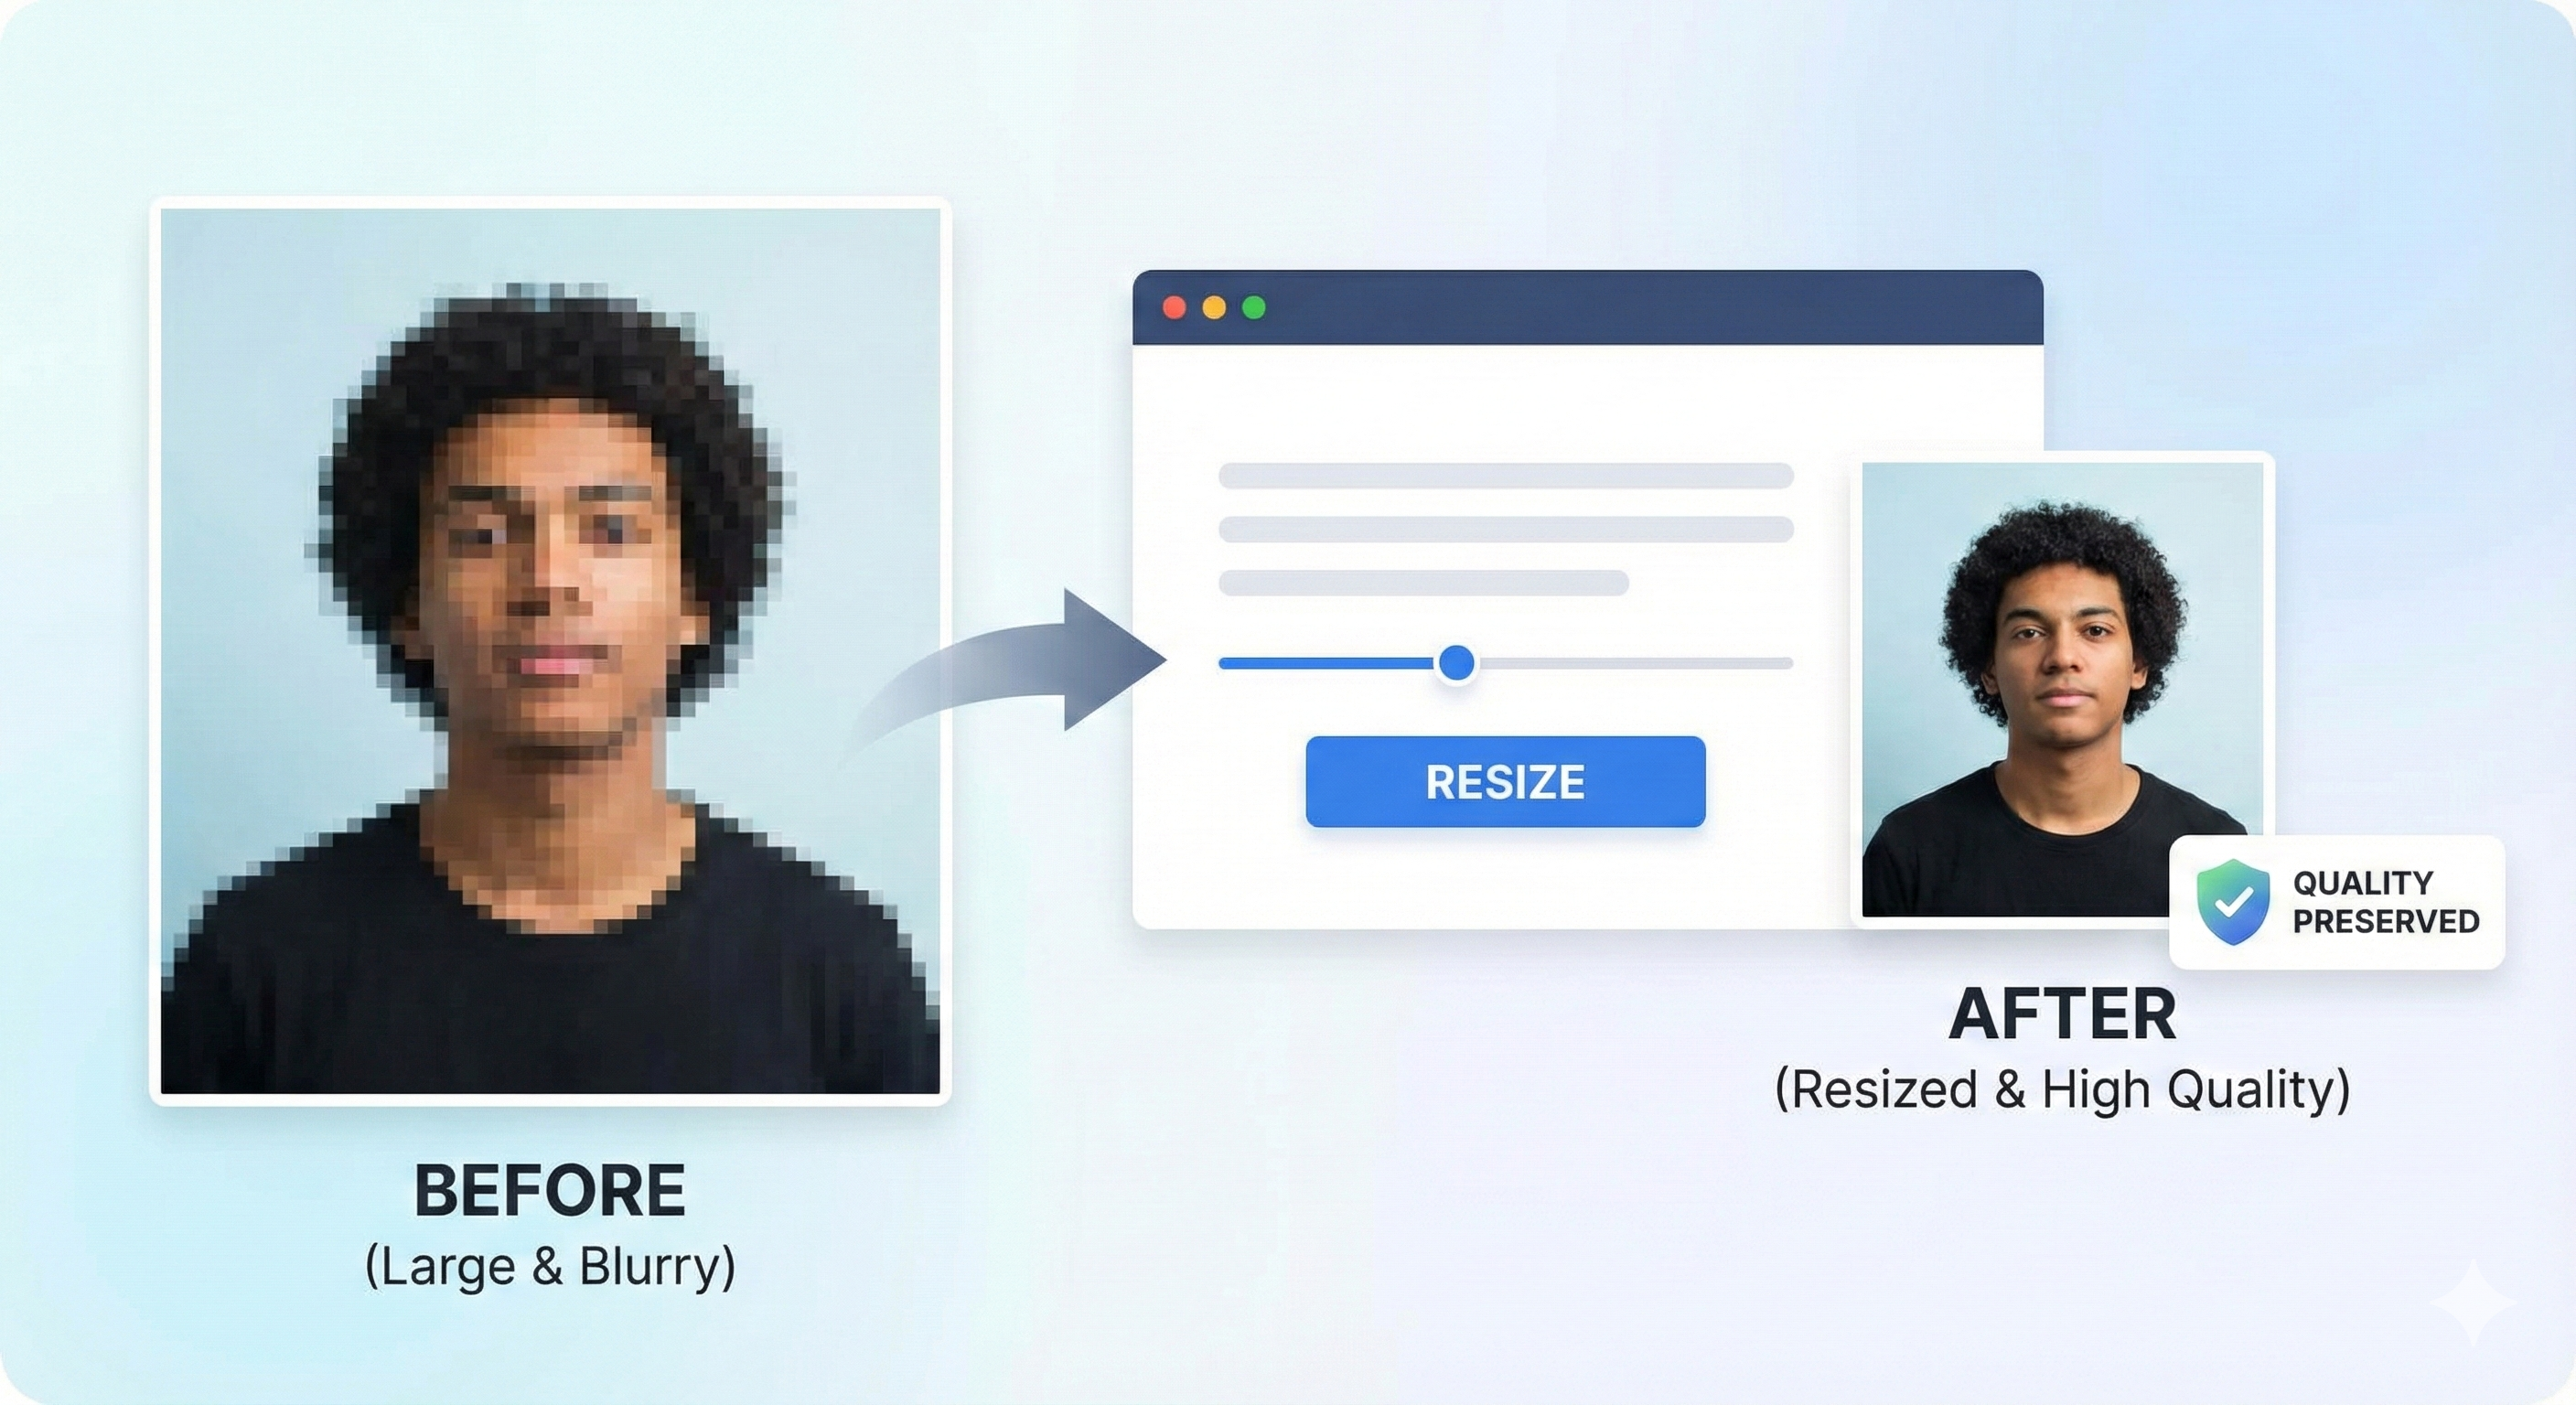
1. The High Quality Resizing Dilemma
Every entrance exam or recruitment application portal has rigid image upload constraints. For instance, the Union Public Service Commission (UPSC), Staff Selection Commission (SSC), or Kerala PSC will specify that candidate photos must be between 20 KB and 50 KB, while signatures must be under 20 KB. They also mandate precise dimensions like 350x350 pixels.
When you try to compress a modern smartphone photo (which is typically 3 MB to 8 MB) down to 20 KB, the resulting file is often pixelated, muddy, or extremely blurry. Portal validation scripts or verification officers will reject these photos, citing "unclear portrait" or "unreadable signature." This guide covers the science of image scaling and shows you how to resize exam photos online while keeping them crisp and clear.
2. Resizing vs. Compressing: What's the Difference?
To keep your image quality intact, it is important to distinguish between two distinct operations: resizing and compressing.
- Resizing (Dimension Scaling): This involves altering the layout size of the image by modifying the number of pixels. For instance, you take an image that is 3000 x 4000 pixels and downscale it to 350 x 450 pixels. Resizing is necessary to fit the exact width-height requirements of exam portals.
- Compressing (Storage Optimization): This involves shrinking the storage footprint (KB) of the file. It optimizes the binary representation of colors and strips redundant data (like camera manufacturer tags or location metadata). Compression is what keeps you under the portal's KB limits.
Many online tools try to do both steps simultaneously using basic, aggressive algorithms, leading to poor visual results. High-quality tools separate these steps: they crop and resize the canvas using sub-pixel interpolation, and then apply smart compression to achieve the target file size without degrading visual detail.
3. How Resizing Works (Interpolation Algorithms)
When you reduce the pixels of an image from millions to a few thousands, software has to decide how to discard pixels. It does this using math algorithms called **interpolation**:
- Nearest Neighbor: The simplest method. It copies the color of the closest pixel. This causes heavy jagged edges and pixelation. Avoid tools that use this algorithm.
- Bilinear Interpolation: Calculates the average color of surrounding pixels. It produces much smoother edges but can sometimes look slightly soft or blurry.
- Bicubic / Lanczos Interpolation: Analyzes larger areas of neighboring pixels. Lanczos interpolation is the gold standard for downscaling, as it maintains high contrast, sharp text lines, and crisp edges, which is critical for scanned signatures and passport photos.
Our resizing platform leverages modern HTML5 Canvas rendering. When you drag and adjust your crop selection, the browser applies high-quality multi-pass interpolation algorithms (similar to Lanczos scaling) locally on your device, ensuring the downscaled portrait is visually clean.
4. Understanding the Trade-offs of Image Compression
Most digital photos are saved in the JPEG (`.jpg`) format, which uses **lossy compression**. This means the algorithm permanently discards some color information that the human eye is less likely to notice, in order to make the file size much smaller.
If you push compression too far, you will see JPEG artifacts: blocky noise around sharp lines, fuzzy patches, and a loss of contrast. To prevent this, you should use a compressor that gives you a **live preview** and a quality slider. This allows you to visually inspect the photo as you slide the compressor, helping you find the sweet spot where the file size falls below the limit (e.g., 19 KB) while the image remains perfectly legible.
📸 Before You Upload Your Photo
Don't risk application rejection! Use our free tool to resize your photo to exact exam specifications.
Create Perfect Exam Photo →