
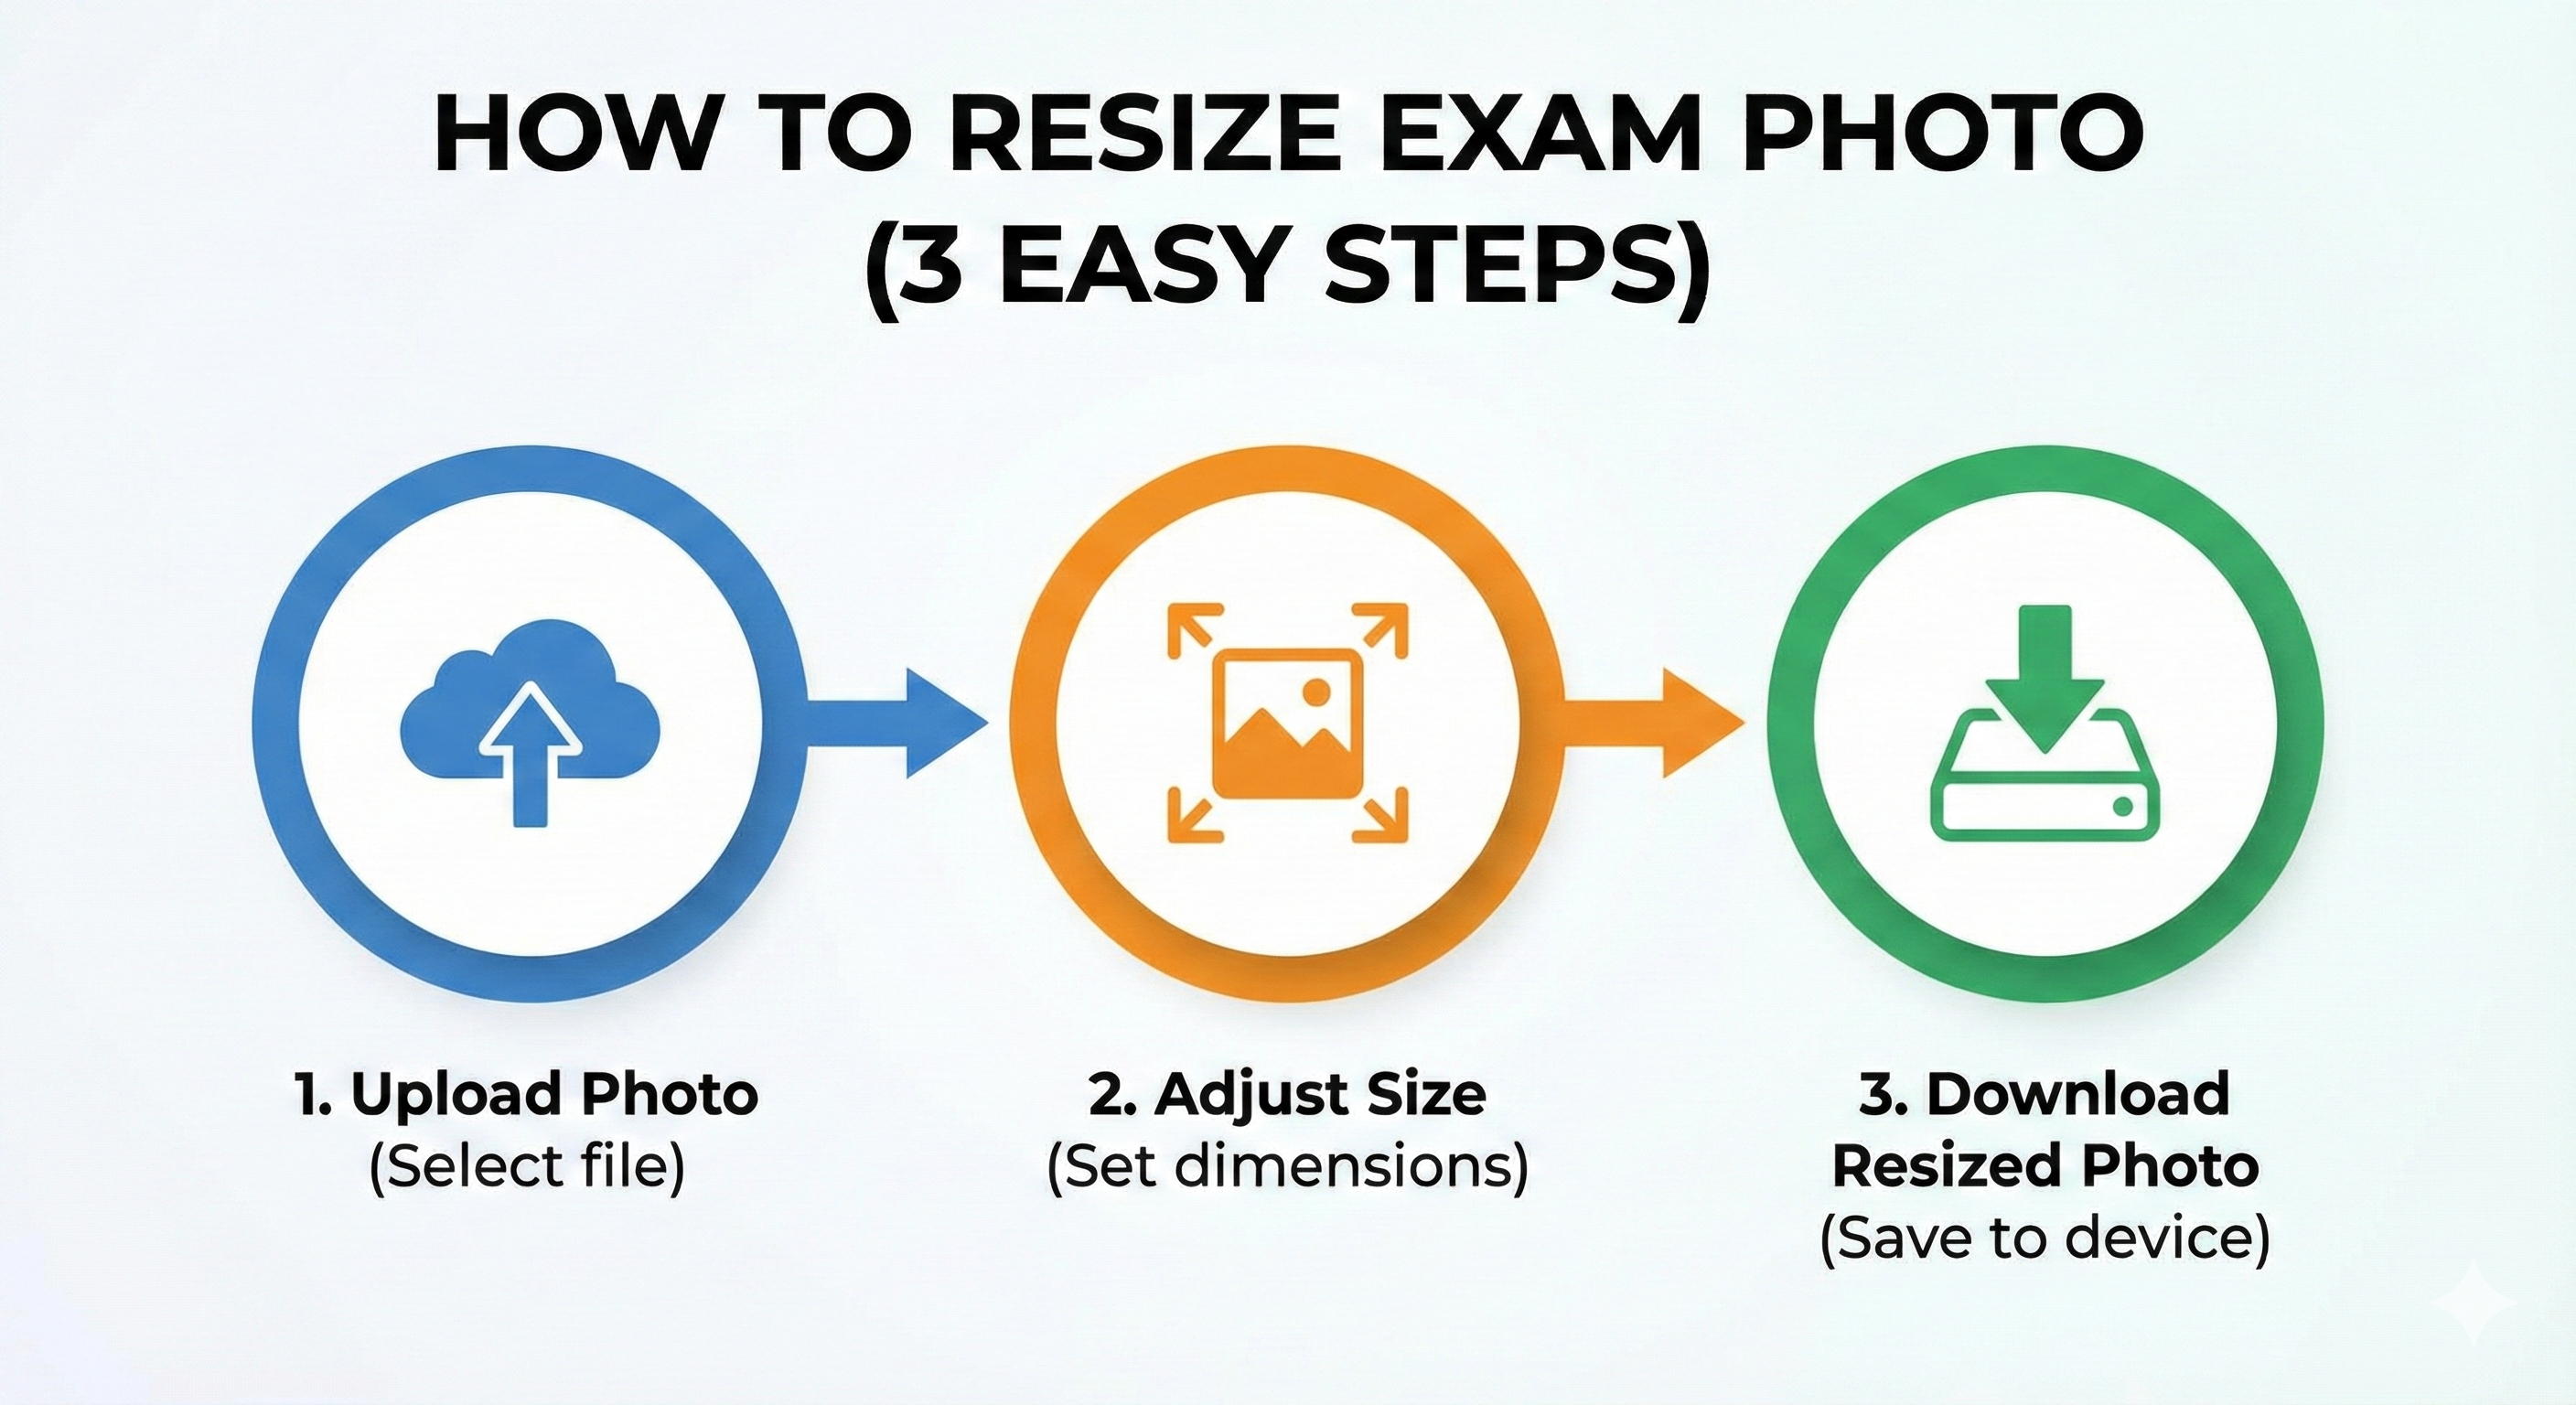
Introduction – Preparing Exam Documents Easily
Filling out competitive exam forms in India can be a challenge. You need to manage educational marks, ID details, and reservation codes, but many students find the photo and signature upload step the most frustrating.
Portals use precise dimensions (in pixels or centimeters) and strict file size limits (usually under 30 KB or 50 KB). If your files don't meet these requirements, the portal rejects them. Our free tool, **MyExamPhoto**, simplifies this process. This guide provides a step-by-step walkthrough on how to prepare your uploads using the tool.
Local Browser Processing (Security & Privacy)
A common concern when using online image resizers is privacy. Uploading copy documents like signatures and passport photos to unknown web servers carries security risks.
MyExamPhoto addresses this by using **client-side processing**. The tool uses your browser's local HTML5 Canvas and Javascript engines to handle all cropping, scaling, and compression. Your files never leave your computer, ensuring your data is secure.
Step 1: Select Your Target Exam Preset
Open the home page at myexamphoto.in.
At the top of the resizer panel, click the dropdown menu and select your target exam. The tool has presets for **NEET, JEE Main, Kerala PSC, SSC, UPSC, and bank exams**. Selecting a preset automatically configures the correct pixel dimensions, aspect ratio, and file size limits, so you don't need to enter them manually.
Step 2: Upload Your Source Photograph
Click the upload area or drag and drop your image file. The tool supports standard image formats, including **JPG, JPEG, PNG, and HEIC** (the format used by Apple devices).
Step 3: Align and Crop Your Face
An interactive cropping window will open with a yellow dashed crop box.
- The aspect ratio of this box matches the requirements of your chosen exam.
- Drag the corners of the box to adjust its size, and move it to center your face.
- For best results, align your head and shoulders so your face occupies 70% to 80% of the frame.
Step 4: Add the Name and Date Stamp
Some exams, like Kerala PSC and UPSC, require your name and the date the photo was taken printed at the bottom.
If you select one of these presets, input fields for your name and date taken will appear. Type the details, and the tool will add a compliant white band with black text to the bottom of the crop box.
Step 5: Adjust File Size (KB Compressor)
Below the crop settings, you will find the file size adjustment controls.
The tool automatically compresses the output image to fit under the exam's file size limit. If you need to make manual adjustments, use the quality slider to change the compression level. The slider shows a live estimate of the final file size.
Step 6: Process and Download the JPG
Click the **"Process Photo"** button. The tool scales the cropped image to the exact pixel requirements and generates the output file.
Check the preview window and the reported file size. If the image looks good, click **"Download"** to save your compliant JPG file.
📸 Before You Upload Your Photo
Don't risk application rejection! Use our free tool to resize your photo to exact exam specifications.
Create Perfect Exam Photo →